That moment when…

…it seems that all the bad stuff happens precisely at the same time. Yep, I had one of them not too long ago.

I am currently working on a little coffee or side table for the lounge. The top will be made from a solid piece of curly maple, and the legs (5 of them, plus 5 half-legs) are made from the old window sill of the lounge bay window, which was replaced with a new one earlier this year. It should be quite spectacular when finished.

The legs are basically there, and so are the two rings holding them together. I rough turned the top quite some time ago and then left it in the workshop. Took it out about 3 weeks ago and it was warped. So I thought, not a problem, I’ll take it to the lounge and then only bring it back to the workshop to finish it off. Except it was still warped. Maybe even more so. Looking at it, I probably should have realize this. Two thirds of it are nicely quarter sawn timber, but the remaining third shows the grain of a branch coming out of the tree. No chance of any stability there.

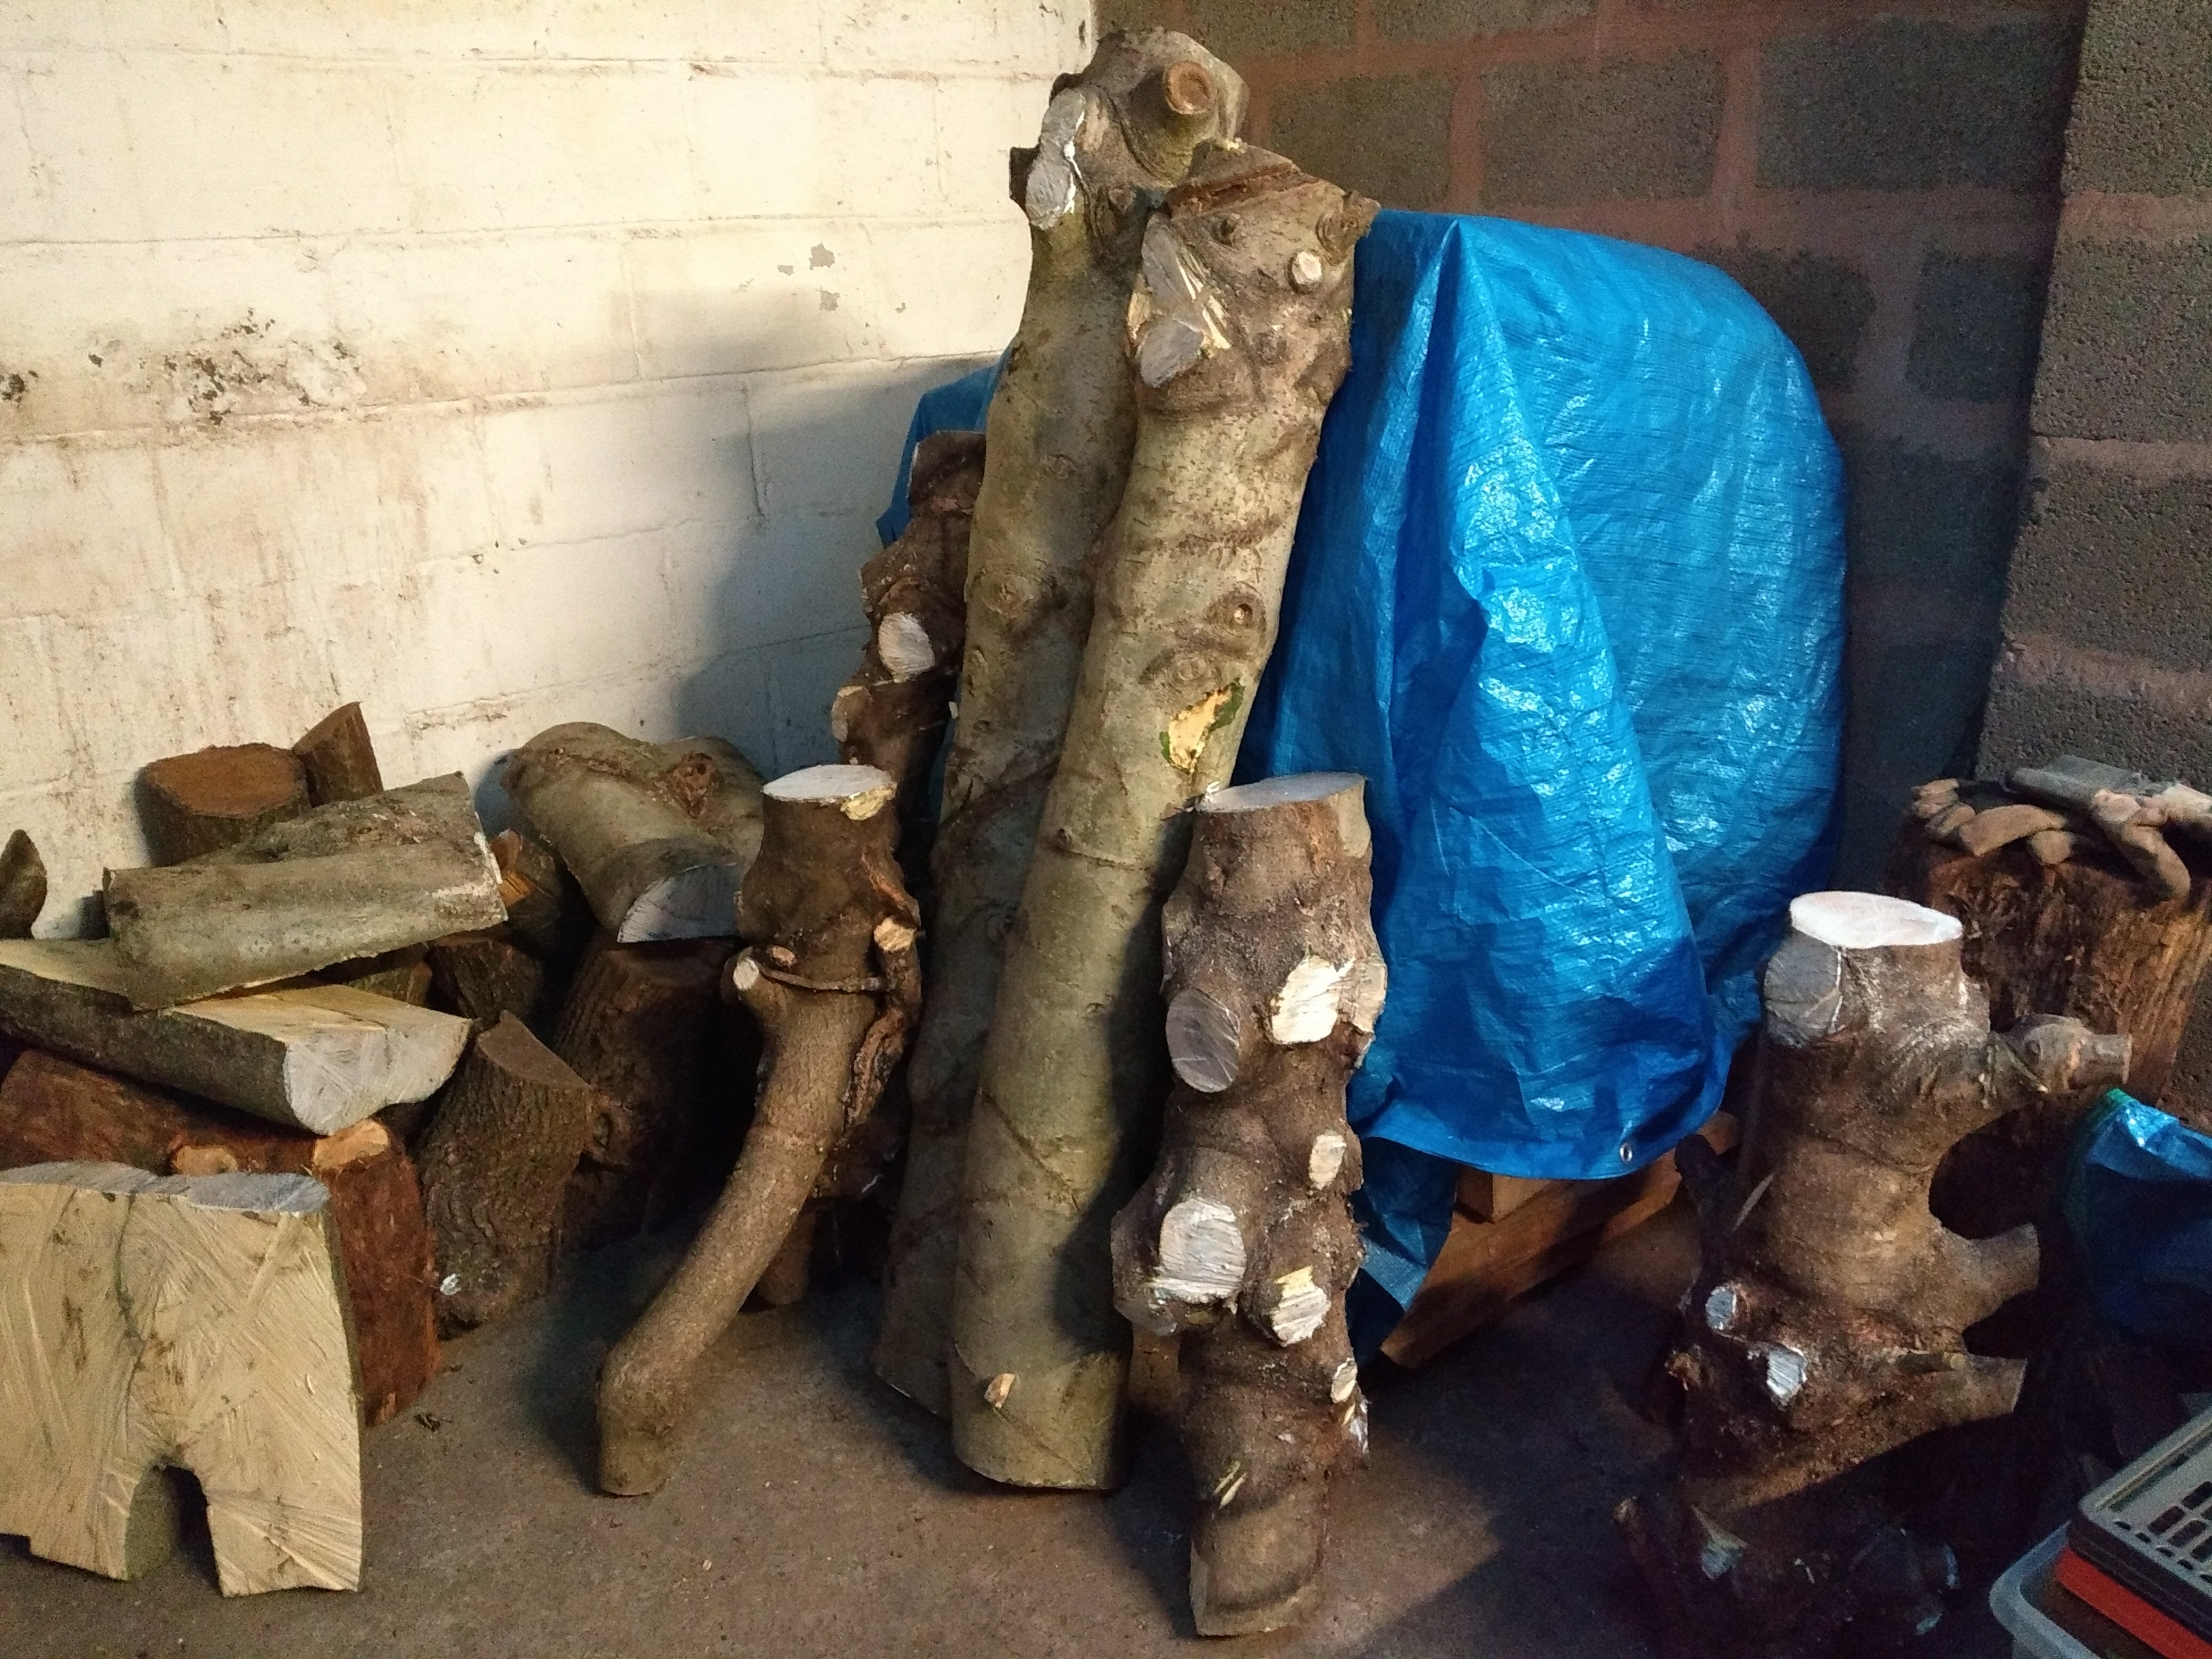
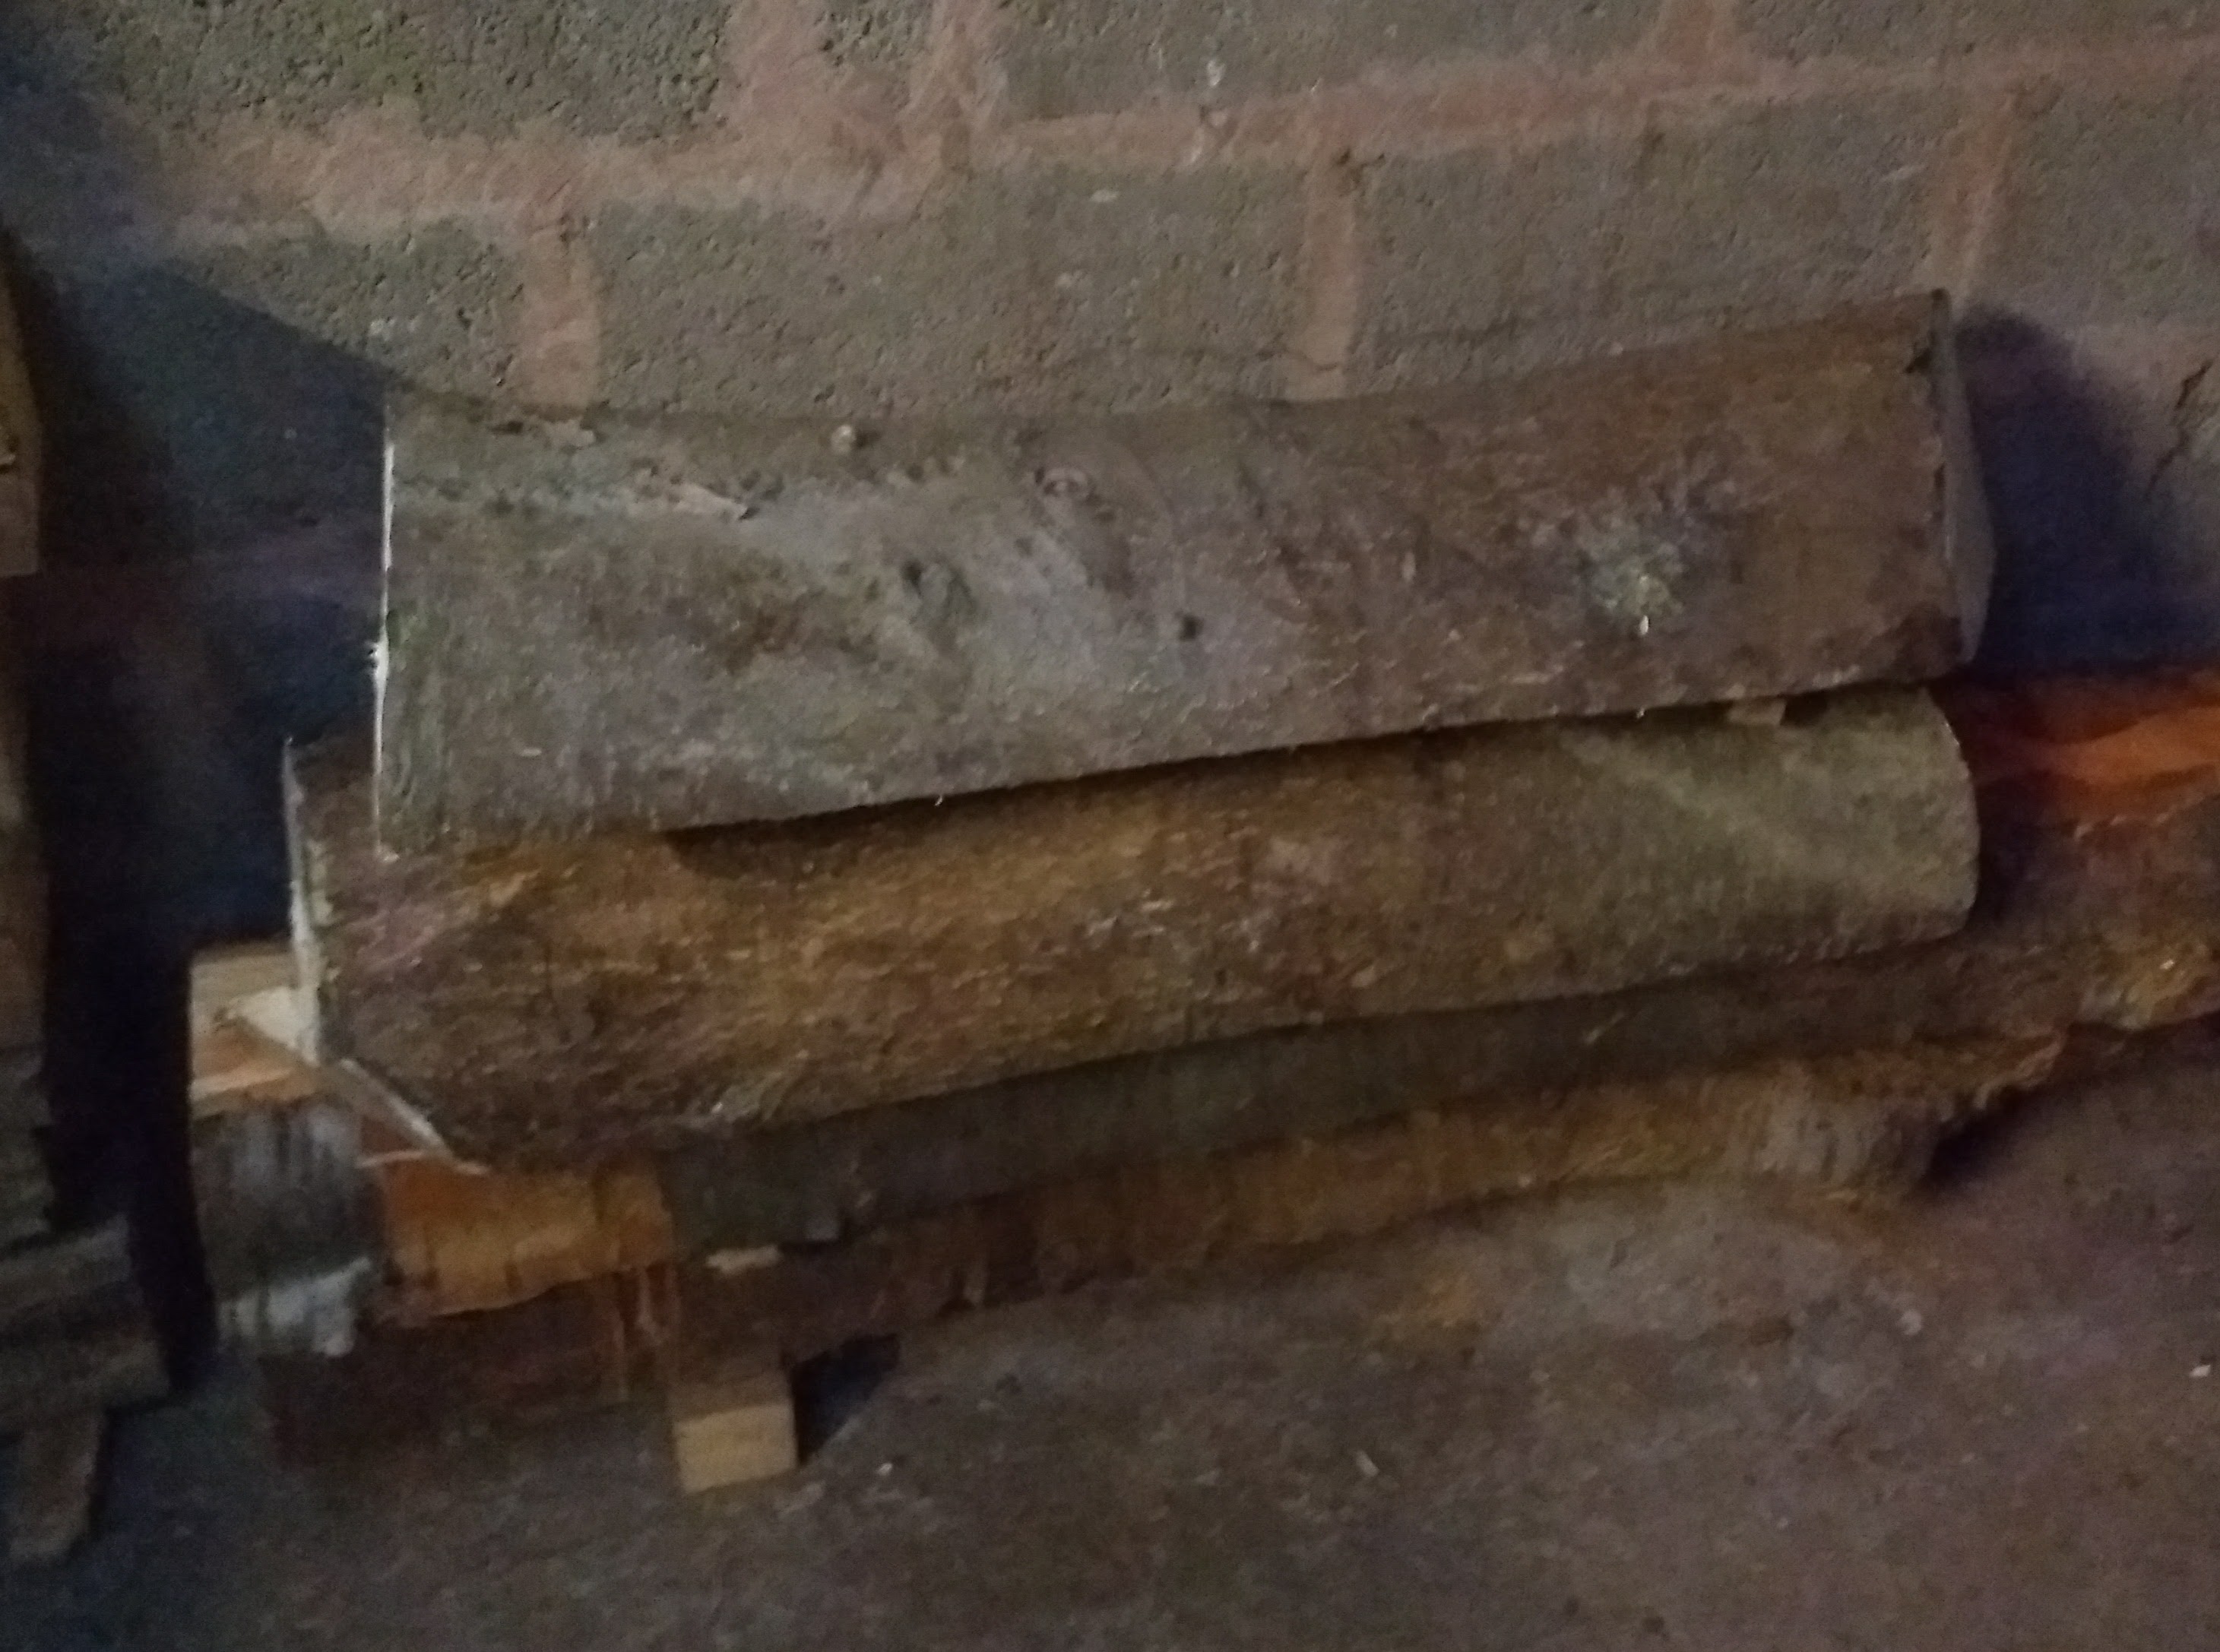
So I let go of a deep sigh, and fetched myself another nice big slab from my stash of sycamore at the yard. Back home, marked out the diameter of the table top, and used my circular saw to separate that part of the blank from the rest (my bandsaw isn’t quite big enough to make these cuts).

Then off to the bandsaw to cut the corners round. That’s where things started to go wrong. I went into one cut, but couldn’t quite finish it. In order to just cut the corner off a little more, I need to reverse out of it. However, the wood had decided to close the kerf after the blade, so it would not move forward or backward more than an inch. Now, this piece of wood is still about 15kg, and a lot bigger than the little table of my bandsaw, so I couldn’t just leave it hanging there. I found myself a piece of oak to support the free side of it. Then I got a chisel and a mallet, sat down on the bandsaw (see the pictures of my workshop and you will understand) and whopped the chisel into the kerf behind the blade.

So now picture this: the chisel goes in. This frees up the bandsaw blade, and at the same time the blank bounces a little on the table of the bandsaw. Just enough so that the oak support underneath loses its grip and falls away. It hits me on the leg, and I get startled, and try to stand up. In this movement somehow get tangled up in the power cable and end up ripping it straight out of the bandsaw. This in turn produces a few sparks, the circuit breaker goes off and and I stand in complete darkness, with a 15kg sycamore blank in my hands, in the knowledge that if I just let go of it, it will surely make a complete mess of the saw blade, and possible of my leg, too.

Proper Mr. Bean moment. It all comes together in on critical moment. Anyways, I managed to fumble around in the dark for the oak piece, wedged it under again, carefully untangled myself, unplugged the bandsaw and got the circuit breaker going again. Then I spend 10 minutes getting the blank and the blade out of the saw, and another 30 minutes fixing the wiring for good. One hour later, it was all done.


Posted in Musings, Workshop | Leave a comment

Holly galore!

Friends of ours have recently remodelled their back garden, and decided that their big holly tree was just getting in the way and needed to go. Luckily they mentioned this to me at the time (about 6 months ago), and I said that I would be interested in it, but only if it is cut down in winter.

About 4 weeks ago they had all the branches trimmed off the tree, and yesterday their gardener Andy and myself brought down the rest. It was still about 7m tall, but we had some long ladders and plenty of rope. Since the trunk divided into two about 8ft from the ground, we could use on half to provide a fulcrum for the rope when cutting off the top of the other half. This work exceedingly well, until there was only the bottom piece of the one trunk left, and that was felled with precision by cutting nice wedge out of it and then sawing through the back. It bounced off the garden well, but only because Andy had his wedge direction slightly off. The trunk itself was felled with the same method.

This picture shows (from left to right) 4 crotch pieces cut from the top of the trunk, 2 upper trunk pieces (with loads of branches cut off), the two long trunk sections on top of the crotch and another two upper trunk pieces with branches cut off. The crotch pieces are about 14″ across and up to 6″ thick, and already they show some very promising figure.

I also managed to cut the trunk in halves, firstly because otherwise it would have been night impossible to get into (and out of) the car due to weight, but also secondly to prevent checking. All end grain has been treated with PVA, so now we just have to wait.

This picture of the trunk is very grainy, due to the comparative darkness in the store room. The bottom two pieces are a trunk of a cherry, which I recently had from another gardener named Andy, and then we have the two halves of the holly trunk on top. 14″ wide, up to 7″ thick, no branches, and towards the top with the figure that indicates the start of the crotch.

If anybody is interested, contact me and I am sure we can find a piece for your needs, but please remember that this is at the moment all very green wood.

Posted in Wood | Leave a comment

Stuff happens

Here’s an illustration of what can happen even to an experienced turner:

This is from a conifer, not Leylandii, but out of the same family. It was given to me by a neighbour. The wood is very soft, so much so that a shear scrape produced a very rough surface, which looked almost like the wood had been brushed with a heavy steel brush.

Instead of trying to get a smooth finish, I decided to leave it this way, maybe scorch it later with a blowtorch, and see what would come out of it.

Drilled a hole down the centre and started hollowing. This is where the softness of the wood became a problem. When I was down to about a 1/4″ wall thickness , small cracks started to appear. And when I made a small mistake and the backside of my hollowing tool touched the opposing inside wall, the tool started to rattle around, and within less than 2 seconds it was all over.


Posted in Turning | Leave a comment

Making a centre finder

It’s one of those things that we all need every now and then, but I kept on forgetting to buy one. It just wasn’t important enough. So one day I decided that I was going to make myself one and get it over and done with. So here’s how to do it.

Posted in Tools | Leave a comment

Not a happy camper

I was planning on taking some photographs of my latest goodies last night, but it didn’t happen because Bob Mercer emailed me with the opportunity to buy some rather fantastic pieces of oak burr, which were just to good to let them pass by. So instead I took the pictures this evening.

The result is, by and large, anything but pleasing, for a variety of reasons.

Firstly they (almost) all look dull and bland. That’s probably a combination of things. For one, I am not sure I’ve found the best settings for my camera. But I suspect a more important reason is that at the moment I have to use a nicely ironed pillow case as a background, because I have not yet managed to locate the proper background cartons I bought for this purposes. And I do seem to remember that with them the pictures came out a whole lot more lively.

Secondly, some of them are not in focus. Entirely my fault, for not checking that the camera was actually focussing on the correct area.

But now we come to the really bad part, and that is my workmanship, or rather the lack thereof. It seems I have allowed my standards to slip, and that is not good. There are pictures that show sanding marks. Other pictures show imperfections in the application of colour, with small areas not being coloured, because I have allowed the sealer to cover them. THere are some small dents, almost invisible to the naked eye, but the pictures show them in all their glory. And the most disappointing of all is my art deco box. It is tricky in the extreme to get a completely even coverage of matt black on a turned item. But even trickier is it to get a nice termination of the black spray paint.

I used a low tack masking tape on the face of the lid, so that the inside including the rim would stay in natural wood. However, the spray paint decided that it wanted to crawl onto the masking tape ever so slightly, which then produced a sharp rim. Trying to smoothen that rim resulted in numerous problematic effects: in some areas the rim stayed sharp and even kept on it some parts of the nyweb I used for the smoothing. In other areas it smoothened unevenly and has now produce a slightly jagged edge, and in still other areas, some of the paint flaked off.

I tried to repair this with very carefully applied acrylic black paint. Alas, the photographs are merciless. It looks a right mess. I always knew that this box was more of a design study than an actual item that could be sold. The handle was a brilliant idea, but the  way it did not sit flush on the lid was not so good, albeit uncurable by the time I was done.

So I suppose now it’s back to square one: no shortcuts, no rushing, practice, practice, practice. And rigorous examination before the finish is done. And as far as the art deco box is concerned, I will have to do this again, with a modified design, and most definitely a different way of cutting the slot for the handle and then applying the black paint.


Posted in General, Musings, Turning | Leave a comment