With another month gone, there was another chairman’s challenge at the West Midlands Wood Turners. This time around the subject was “a bowl, cut and reconstructed”. I knew exactly what I was going to do, but I almost missed out anyway. I was dead sure that the subject was “a candlestick with a twist”. Only when I received the newsletter did I learn about my misconception, and then I really had to get my skates on.
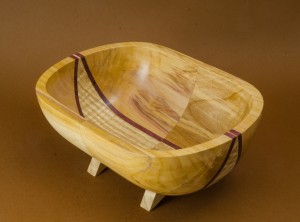
In any case, here’s the finished item. And yes, it did win (although with very little competition):
 The main body is a deep end-grain bowl made from a piece of plum. I have four of these, all slightly different shapes, and all 4 of them have developed major cracks, due to being turned whilst still very green, and quite a bit of wall thickness left. The cracks never really disturbed me, the intention has always been to cut them into pieces and do some interesting stuff with other types of wood, or even completely different materials (such as metal or crushed stone).
Once I had the rough bowl cut into two pieces, I cut off a bit more to make them as close to identical as I could, then sanded the cut surfaces flat on my home made disk sander (basically a piece of plywood as big as the lathe can handle, with a velcro disk on it, and then some sanding disk stuck on top, works like a charm).
And then the tricky bit started: selection of how to fill the gaps. Eventually I settled on some curly ash and some strips of purple heart. The purple heart came from spindle blank, 1″ square by 1′ long. I sanded two of the sides nice and smooth, made sure a third side was at proper right angle, and then cut two strips off with the band saw. The rinse and repeat to get 4 strips, all roughly 1/4 inch minus the kerf of the saw blade. The cutting of the curly ash was a bit trickier, since I needed to make sure I had the angles more or less right, and enough material on all sides to allow for the final shape to be covered. Again, lots of sanding to get the angles to perfection and both pieces of precisely equal dimensions (this is crucial, as you will see). Then glued the strips of purple hard on, and sanded the outside flat and parallel (again, crucial).
And then the big challenge: glue the whole lot together. If I had more time, I probably would have done this as a two-step process, i.e. glue one wedge to one half, and the other wedge to the other half, and then I could have made sure of an absolutely perfect fit. As it was, I was about to run out of time (each gluing step needed about 24 hours for the glue to cure properly, and that dictates a lot of the timing). So I had to figure out a way to assemble all 4 pieces in one go. As any experience segmented wood turner will tell you, that’s the most challenging thing to get right in the whole process. Unsurprisingly, the glue did slip a little bit, and it shows in the final assembly. Once wedge was pushed out a little bit, and although there are no holes or gaps in the glue lines (that would have been a disaster), the final dimensions of one wedge are just a little bit less than the other. And since in the final glue-up these meet in the centre of the bowl, and slight difference will show. And it does. Another lesson learned: I would have been better off covering the entire top rim of the original bowl with yet another contrasting wood. This would have hidden those slight deviations.
In any case, the glue-up needed 2 nights to cure through. By Friday night the cured bowl was back on the lathe for turning. There’s another challenge in this step: since the resulting bowl was going tobe cut again and blued together at the rim sides of the two halves, and unevenness in wall thickness would show without any mercy in the rim of the final oval bowl. Therefore loads of measuring and fine cuts until I was reasonably happy that I had even wall thickness.
Then the final cut, a little more rim sanding, and the final glue-up. Left to cure over night, and on Saturday afternoon I could proceed to finish sanding (lots of it) and gluing some small legs on, which I had made on Saturday morning from the cutoff pieces of curly ash from the segments.
The end result is probably not everybody’s cup of tea, however my wife thinks it’s lovely, and I am rather pleased. Both with the bowl and the lessons I learned on the way.
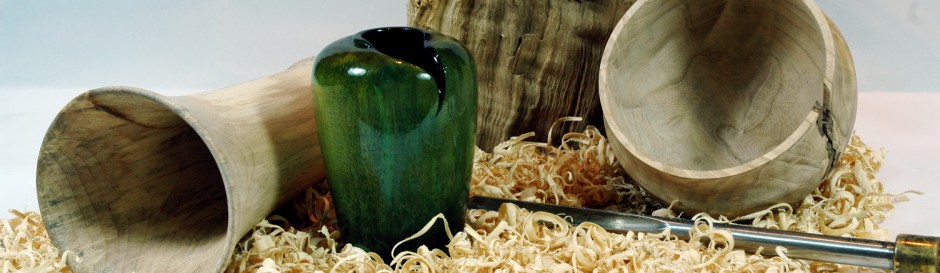
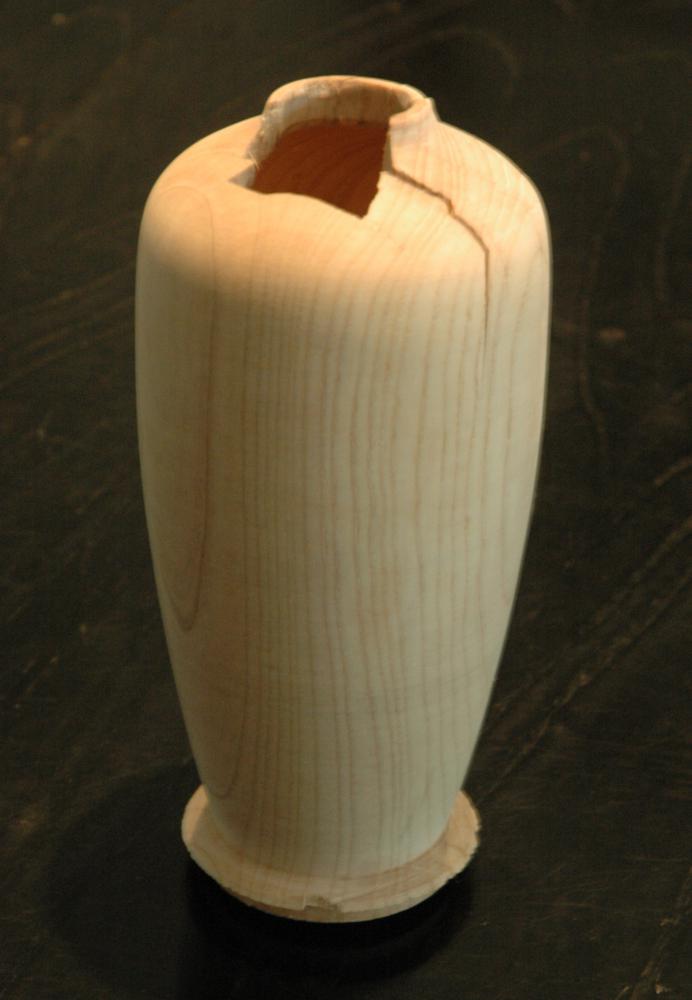 I had this nice piece of ash, with just a few tiny cracks on one end. I thought I could hollow it out, and then cut the cracked bits out with some carving. Alas, it was not to be. All was going splendidly well, and I had in fact pretty much finished the upper half of the hollow form, when it suddenly exploded on me. I wasn’t standing in the line of fire, so no damage done. The missing pieces are not be found (I am sure they are somewhere in the workshop, I just can’ be a***d to look for them).